Published: 17 October 2026
In short
- Dry every connection first, then hold a dry paper towel under each point to find the first one that gets wet.
- If it drips only while the tap is running, the problem is on the drain side. If it drips with the tap off too, it is on the clean water side.
- Plastic trap nuts are tightened by hand. A nut tightened with pliers cracks and the leak gets worse.
- If water leaks only while the basin is full and draining slowly, a blockage is straining the joint.
- Damp coming from the wall or from the ceiling of the flat below points to a deeper problem than a fault inside the cabinet.
The good news is that you do not need to take anything apart to find the leak. Emptying the cabinet, drying the connections and running the water in a controlled way while you watch usually reveals the source within a few attempts. Once you know where it is, the fix becomes clear: sometimes a quarter turn of a nut by hand, sometimes a new seal, and sometimes clearing the blockage that is pushing the water back.
Find the leak with the dry paper test
The logic of this method is simple: water always runs to the lowest point, but the place where it first escapes is the place that starts getting wet first. If you wipe every connection with a dry cloth and then place a separate strip of paper towel under each one, the first strip to be stained shows the source.
Do the test in two stages. In the first stage, wait for a while without touching the tap and check the papers. In the second stage, use the sink normally to load the drain side.
- Empty the cabinet completely, spread a dry towel on the floor of it and keep a torch within reach.
- Dry the isolation valve connections, the hose ends, the trap nuts and the opening where the trap enters the wall.
- Tuck a small piece of paper towel under each connection, or hold it there by hand.
- Wait with the tap off. If a paper gets wet, the problem is in the pressurised clean water line.
- Then turn the tap on, let the water run straight into the drain and watch the papers around the trap.
- Finally, fill the basin with the plug in and release it all at once. Some leaks only show up under this load.
Which part is the water coming from?
The paper test tells you which area to look at. Each area has its own typical way of failing, and most faults show themselves when you look closely at the part.
- Trap nut: plastic nuts loosen over time and most often drip at the bottom of the trap and at the top opening where it joins the basin.
- Seal: if the trap has been removed and refitted before, the seal may be seated crooked, hardened or missing altogether.
- Cracked trap: on thin plastic traps, a hairline crack leaks even when the nut is tight.
- Wall connection: if the sleeve seal where the trap pipe enters the wall has dried out, water seeps down from the base of the wall.
- Tap hoses: the ends of the braided hoses connected to the isolation valve rust or the braid bulges, and they drip even with the tap off.
- Drain strainer and overflow: when the seal under the strainer body that sits in the basin outlet wears out, water runs down from just below the porcelain.
- Worktop edge: if the silicone between the basin and the worktop has opened up, water splashed from above gets in and looks as if it is coming from the trap.
Can a blockage make water leak under the sink?
Yes, a blockage is a very commonly overlooked cause of leaks. The trap and its connections are built for water flowing under its own weight, not for pressurised water. When there is a narrowing in the wall pipe, water builds up inside the trap, and as the level rises it starts to escape from the weakest joint.
This is easy to recognise: if the sink drains slowly and the leak appears only while water is standing in the basin, tightening the nut gives only temporary relief. The real fix is to clear the blockage that is pushing the water back. Otherwise, a week later the same connection or another one starts dripping.
Fixes you can safely do at home
Most small leaks on the drain side can be fixed without tools. On the clean water side, it is essential to close the isolation valve first, because the water there is under constant pressure.
- Tighten a loose trap nut by hand, about a quarter turn clockwise, and repeat the paper test.
- If it still drips after tightening, put a bucket underneath, undo the nut and check that the seal is flat and fully seated.
- Replace a hardened or torn seal with a new one of the same size from a hardware shop.
- If the hose end is damp, close the isolation valve clockwise and do not use the sink until you have replaced the hose.
- Clean off the opened silicone along the worktop edge and apply fresh silicone to a dry surface.
Which signs mean waiting makes the damage worse?
Wetness inside the cabinet behaves like a sponge: it swells the chipboard base and causes mould, and by the time you notice, the damage has already spread. If you see a darkening stain at the foot of the wall, blackening in the tile joints or a ring-shaped mark on the ceiling of the flat below, the water is getting out of the cabinet too.
In apartment buildings, a leak is usually noticed first by the neighbour below. At this point the problem is no longer a matter of a nut, and it would not be right to guess at the condition of the drain pipe inside the wall without seeing it on camera.
- Water seeping from the base of the wall even though the trap is dry
- A new damp stain on the ceiling of the flat below
- A trap that starts dripping again soon after its seal was renewed
- Water rising from other drains when the sink is emptied
- Chemical drain opener having been poured down the drain earlier: the leaking water may carry chemicals, so do not touch it with bare hands
How is a drain side problem solved?
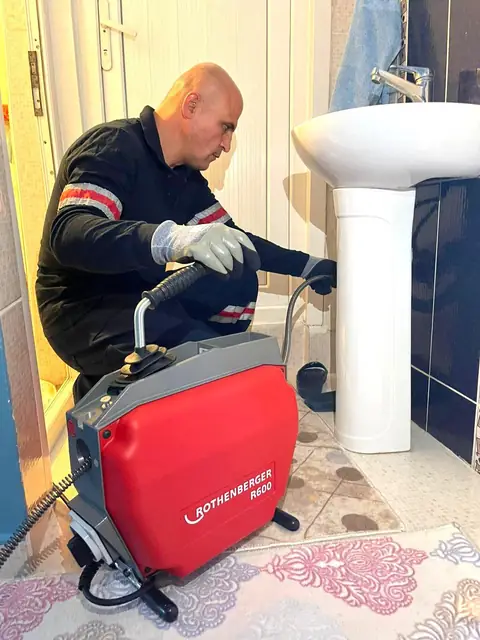
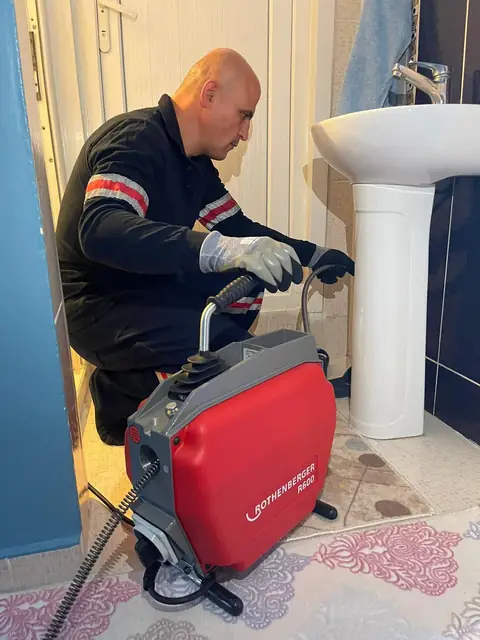
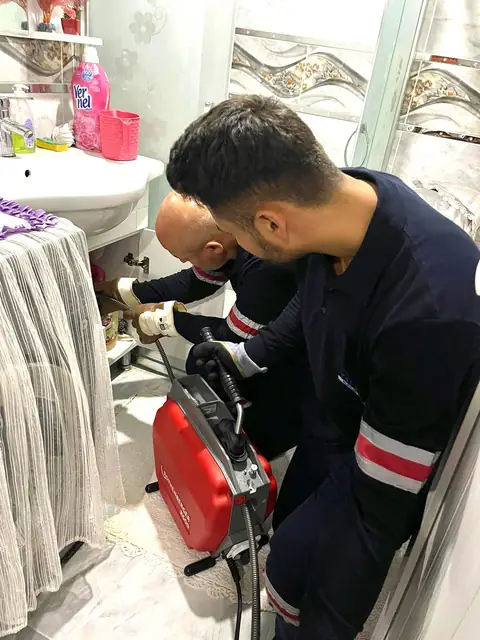
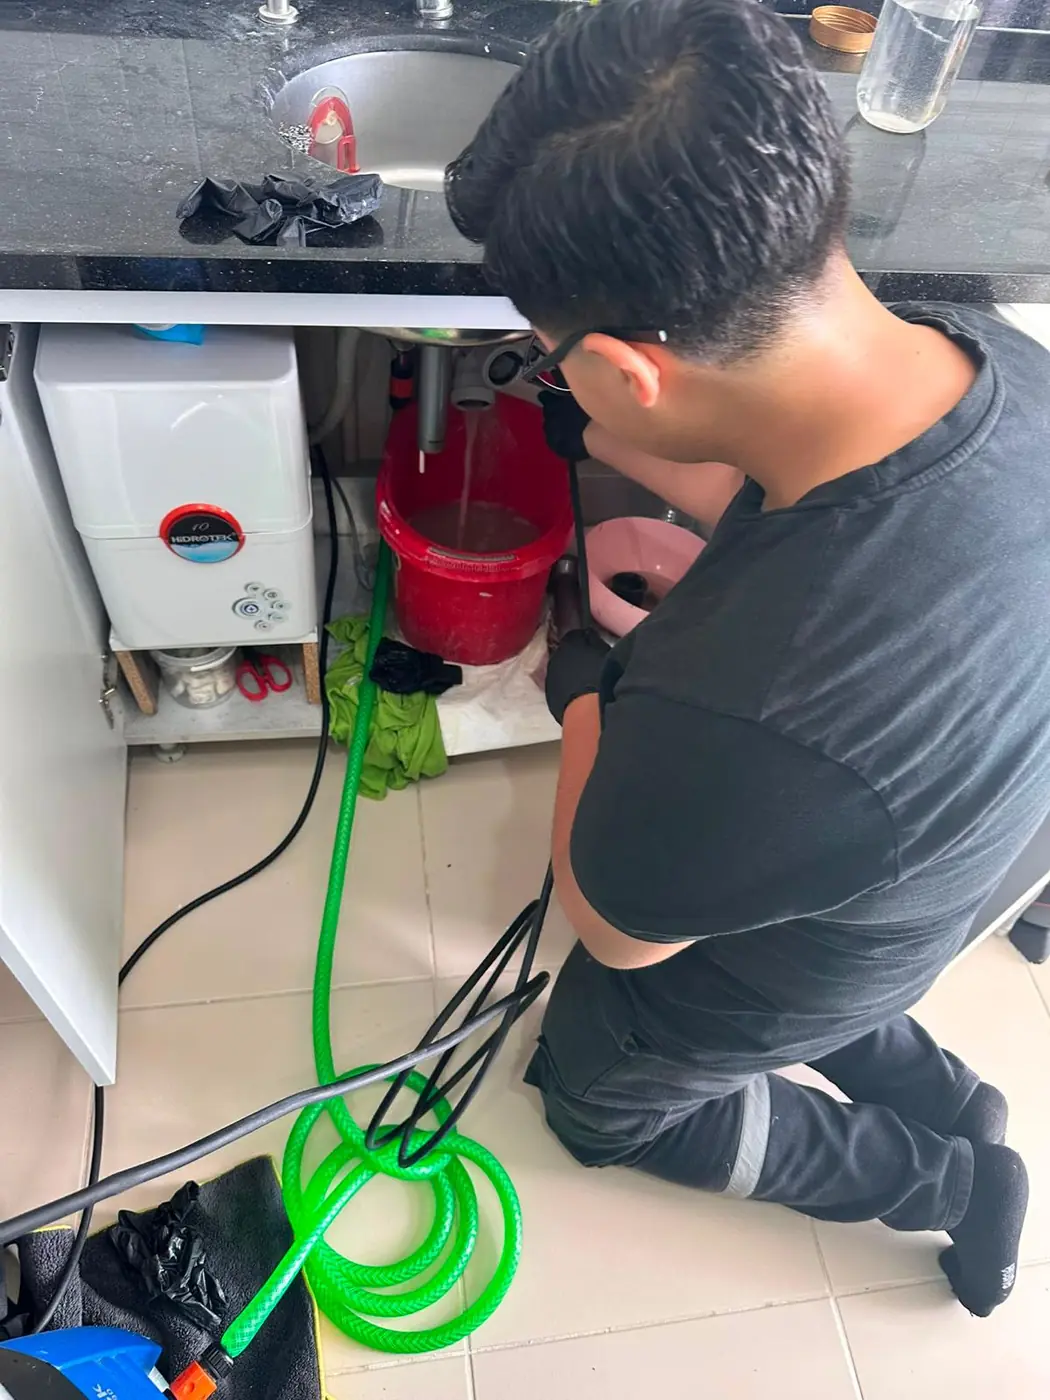
If a blockage is behind the leak, the Cantley team removes the trap and sends a camera into the wall pipe to show whether the narrowing is close to the trap or at the shared stack connection. A hair and soap blockage is cleared with a motorised drain snake, and a line narrowed by limescale is cleared with high-pressure water jetting. When the work is done, the trap is refitted with proper seals and the paper test is repeated together with you.