Published: 17 October 2026
In short
- You will come across three types of sink trap: the bottle trap, the curved pipe trap and the flexible corrugated trap.
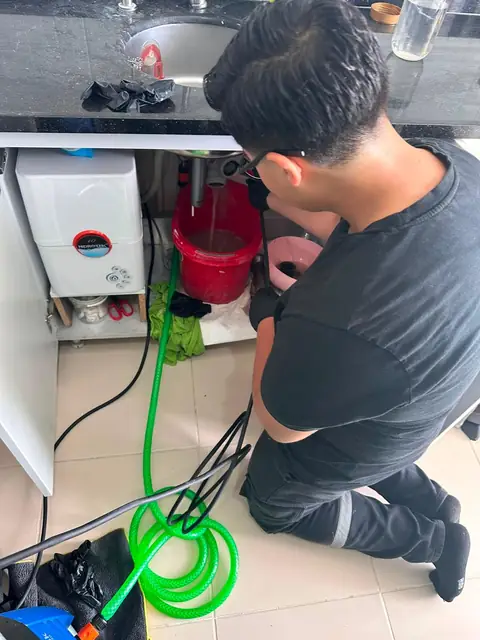
- Put a bucket underneath before you start; there is always some dirty water sitting inside the trap.
- Plastic nuts are loosened and tightened by hand, and if a gasket goes in the wrong way round, it will leak.
- After refitting, run the tap fully open and fill the basin to do a two-stage leak test.
- If the trap comes out clean but the water still will not drain, the blockage is in the wall pipe or the shared stack.
Opening the trap has a second benefit. If a ball of hair, an earring or a toothpaste cap comes out, you have found the problem. If the trap comes out spotless, that is useful information too, because it shows the blockage is beyond the trap and you have reached the limit of hand methods.
Which trap is under your sink?
Opening the cabinet and looking at the trap is enough to tell the type. In Turkish bathrooms the bottle trap is the most common, older sinks and kitchen-style basins usually have a curved pipe trap, and rental flats and later alterations often have a flexible corrugated trap.
The type matters because it decides how deep you need to clean. In a bottle trap the debris mostly settles in the lower chamber, and opening the chamber solves most of the job. In a curved pipe, hair collects at the lowest point of the bend, and you need to take the pipe out completely at both ends. In a corrugated hose, dirt spreads between the ridges, so after removing it you need to run plenty of hot water through it and flex it to rinse it out.
- Bottle trap: there is a cylindrical chamber at the bottom, it unscrews on its own, and most of the time you do not need to take the whole trap apart.
- Curved pipe trap: a pipe bent into a U or P shape, connected to the basin outlet and the wall pipe by nuts at each end.
- Flexible corrugated trap: a soft hose folded like an accordion, whose inner ridges catch hair and soap faster.
Have these to hand before you start
The preparation is only five items, but if one is missing, the inside of the cabinet fills with dirty water in an instant. If you have poured chemical drain opener into the sink earlier, do not open the trap, because the water inside can burn your skin and eyes. Tell the technician about it when they arrive.
- A wide bucket or basin that fits under the trap
- Rubber gloves and old towels to spread on the cabinet floor
- An old toothbrush and washing-up liquid
- A bowl, so small parts do not get lost
- If needed, a spare gasket of the same size from a hardware shop
Order for removing and cleaning
Before you start, scoop any water in the basin into the bucket with a glass, so no extra water comes down when the nut loosens. Taking a photo with your phone as you remove the parts makes it easier to remember which gasket goes where when you refit them.
- Place the bucket directly under the trap and spread the towels around it.
- On a bottle trap, turn the lower chamber anticlockwise by hand. On a curved trap, loosen the nut on the wall side first, then the one on the basin side.
- Wait for the water inside to drain into the bucket, then slowly lower the part away.
- Take out the gaskets one by one, put them in the bowl and note which one came from where.
- Scrub the chamber and the pipe with hot soapy water and the toothbrush, in the bucket or in another sink.
- Also brush the visible inside of the upper opening where the trap joins the basin and of the wall opening.
How to refit gaskets and nuts
Most leaks come from a gasket put back incorrectly after removal. Tapered gaskets sit with the thin end facing the pipe and the thick side facing the nut, while flat gaskets must go in completely level and without folding. If you see a crack, hardening or a flattened mark on a gasket, fit a new one instead of forcing the old one.
Do not use a spanner or pliers to tighten the nuts. Plastic threads grip well enough with hand force, and a nut tightened with a tool either strips its thread or develops a hairline crack, and the leak appears a few days later. Also watch the alignment of the parts; a pipe that goes in crooked will drip however hard you tighten the nut.
How to do a leak test
The test is done at two loads, because some gaskets only leak under heavy flow. First open the tap fully and let the water run down the drain for a while, holding a dry paper towel under each nut. Then fill the basin halfway with the plug in and pull the plug; the sudden rush of water is the moment that strains the trap most.
If the paper stays dry, the job is done. Even so, it is a good habit to leave a dry towel on the cabinet floor and check it the next morning. If there is any wetness, tighten the nut a little more by hand, and if that does not fix it, take it apart and look at how the gasket is seated again.
If the trap comes out clean, where is the blockage?
If there is no significant build-up in the trap but the water still drains slowly, the narrowing is in the wall pipe the trap connects to or in the building's shared stack. With the trap removed, pouring a glass of water into the wall opening gives you a clue: if the water drains away at once, the problem lies between the trap and the basin, in the plug or strainer section. If the water stands in the opening, the blockage is inside the wall.
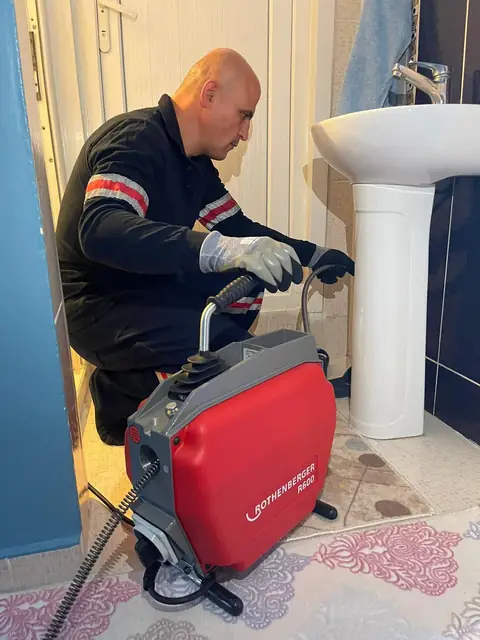
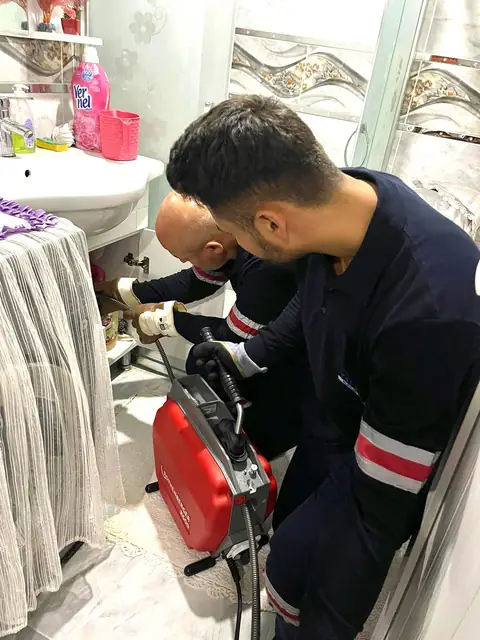
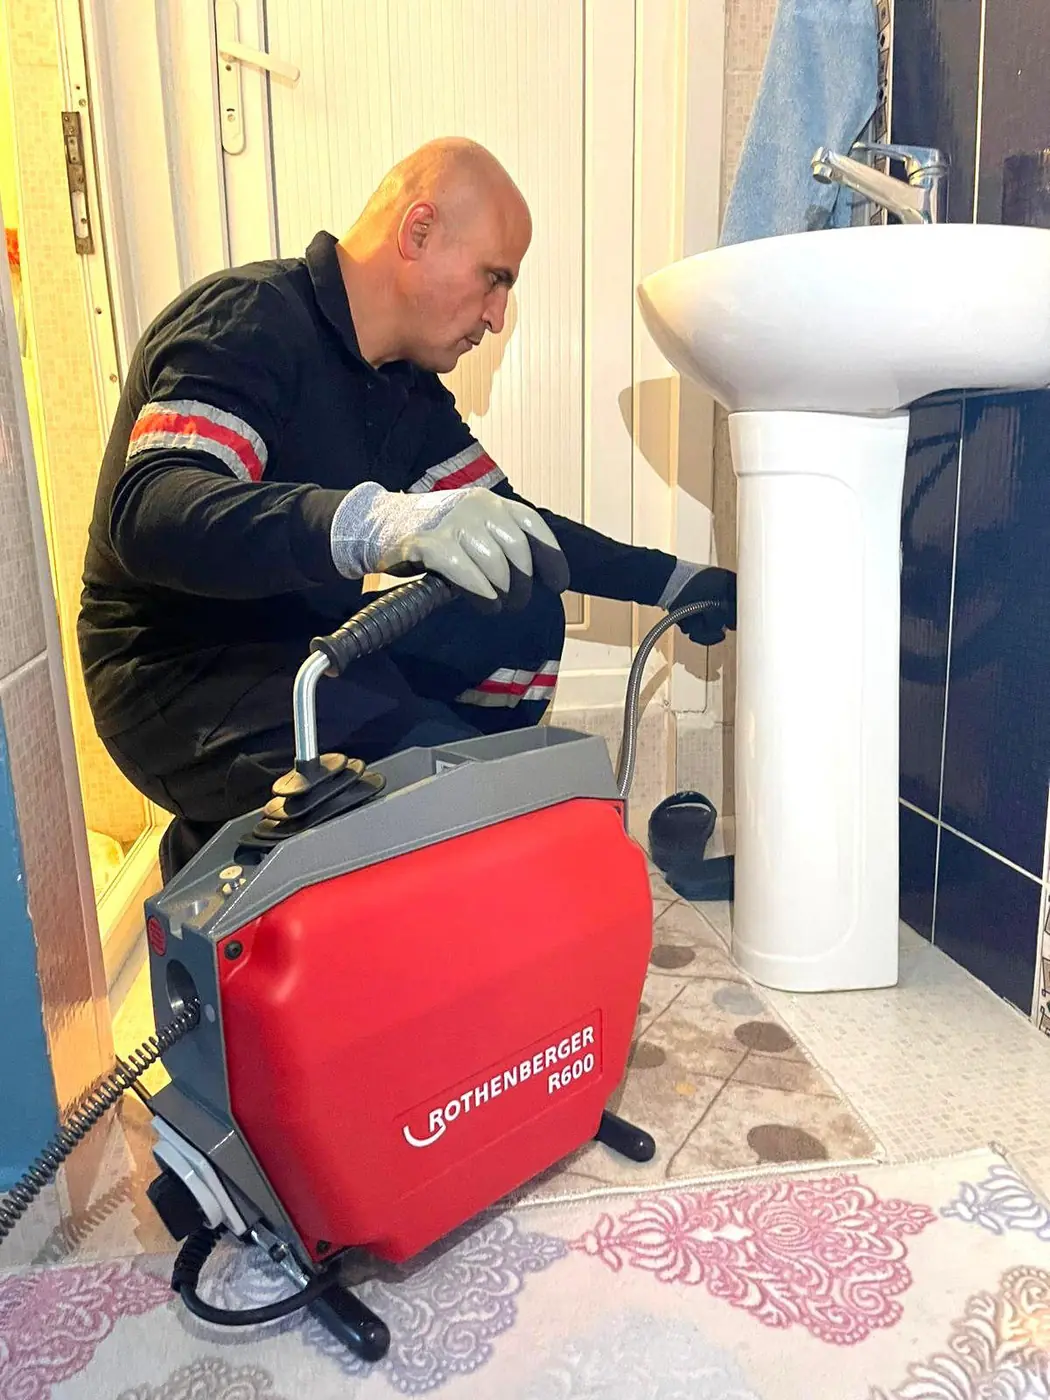
For a blockage in the wall pipe, the Cantley team removes the trap, runs a camera into the pipe to show you the position of the narrowing on screen, and, depending on the type of blockage, clears it with a motorised drain snake or high-pressure water jetting without touching the tiles. If water is also rising in the bathroom floor drain or the shower at the same time, this check should not be delayed.